Hey kids!
Have you ever wanted to draw but found that it’s too hard? That you deal with the bullshit of trying to pick out colors? What about composition? And the cramps you get in your hand from developing carpal tunnel?
Well, do I have good news for you! I have developed this handy dandy guide for you idiot plebs who cannot draw! From a professional (trademark) who makes (some) money off of their work! Whether or not you are a complete noob who has never touched a pencil in their life, or you are someone who has been drawing for years, there will be tips for all of you losers!
So where do we begin? There’s a lot to the art of art and you guys are li’l dumb dumbs and can’t absorb all the info in the world! So let’s start with a simple concept to begin with:
COMPOSITION
Composition is uhhhhhhh a lot. But lemme just stress this for you fine li’l freaks of nature: COMPOSITION IS THE MOST IMPORTANT PART OF ART! If your composition sucks, the rest of your art sucks. Most people, even the idiots who know nothing about art, can notice when something is off or generally uninteresting about your work. And composition is the most important aspect of this. But here’s some concepts to help start you off with:
DEPTH/OVERLAPPING
In terms of composition, a good rule of thumb is that you never want your art to be flat, unless you INTENTIONALLY make it flat. Now, what do I mean when I say depth? Okay, you impatient fuck you gotta wait a sec here!
I mean this shit:
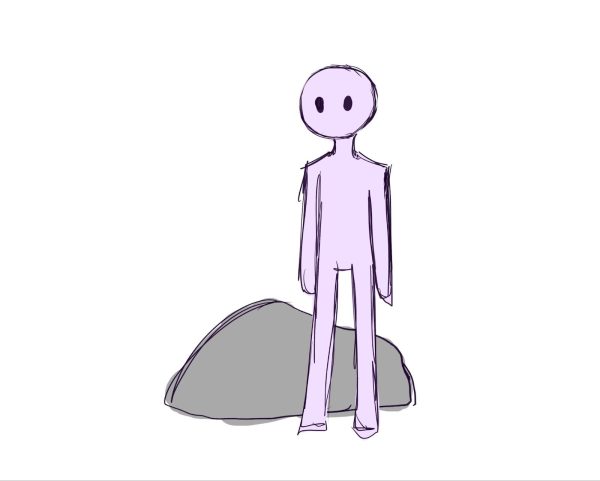
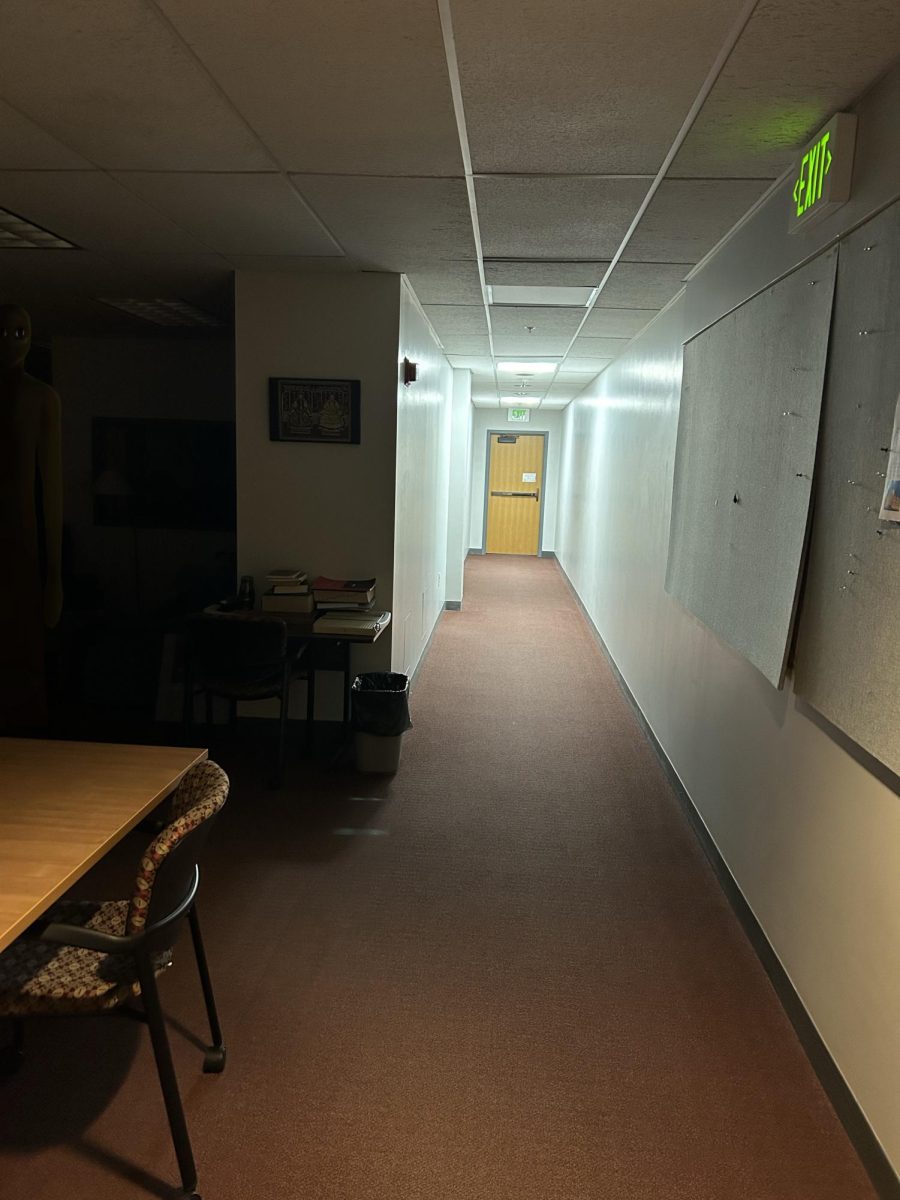
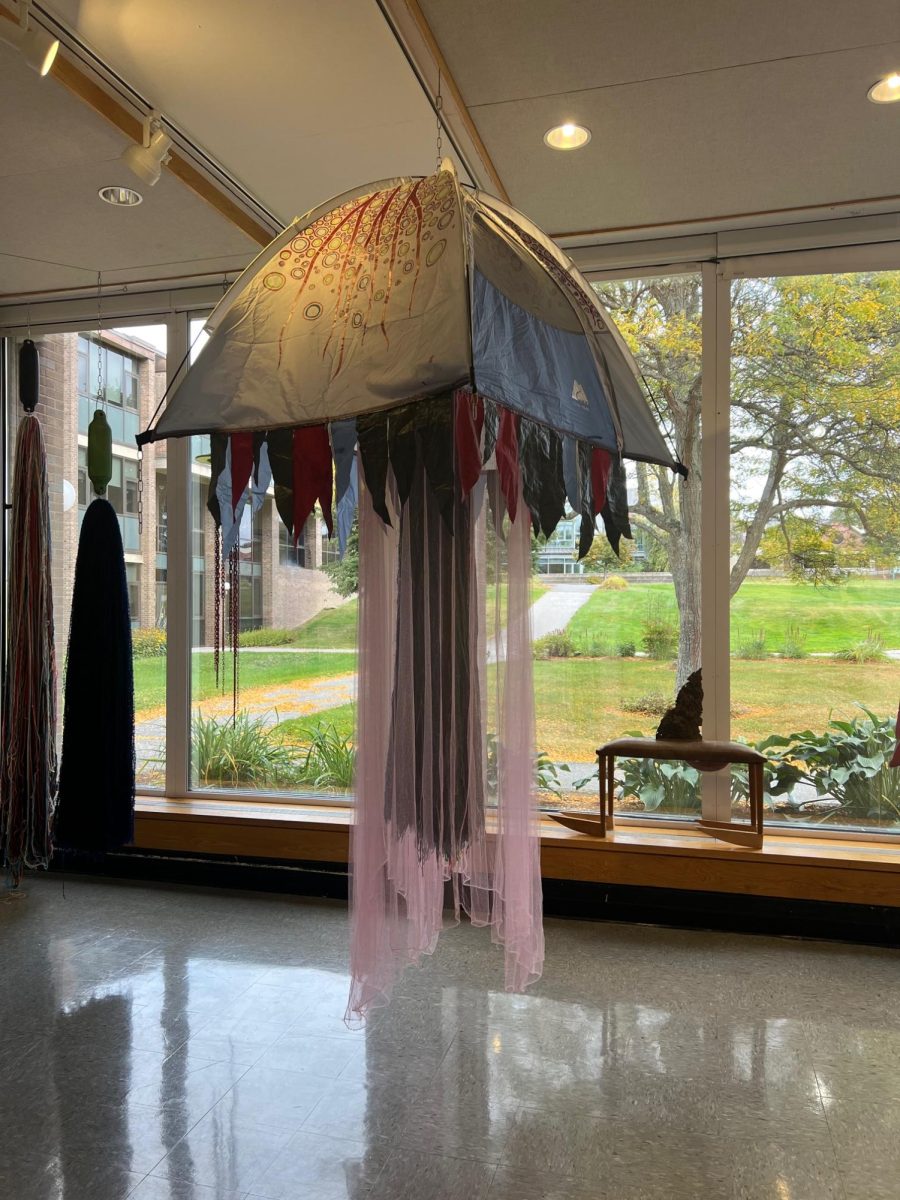
See how the character is in front of the rock? That is overlapping. See how there is dimensionality and perspective? That is depth. Perspective is something that so many people struggle with, and honestly, you are such little bitches, I can’t believe–
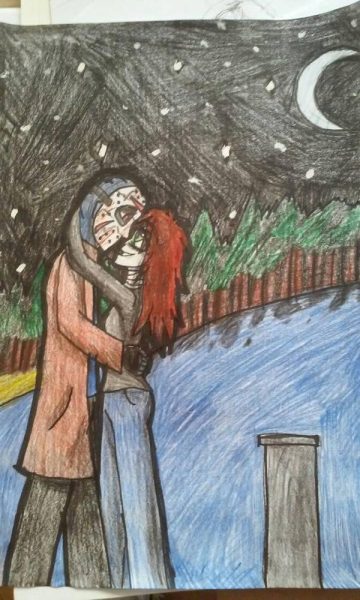
Satan’s asshole, what in Sam’s hell is this?!
This is actually my own art that I actually drew and, as you can see, it is horrible. Also, I am exposing myself as a filthy shipper for your amusement and your education. You idiots better not complain.
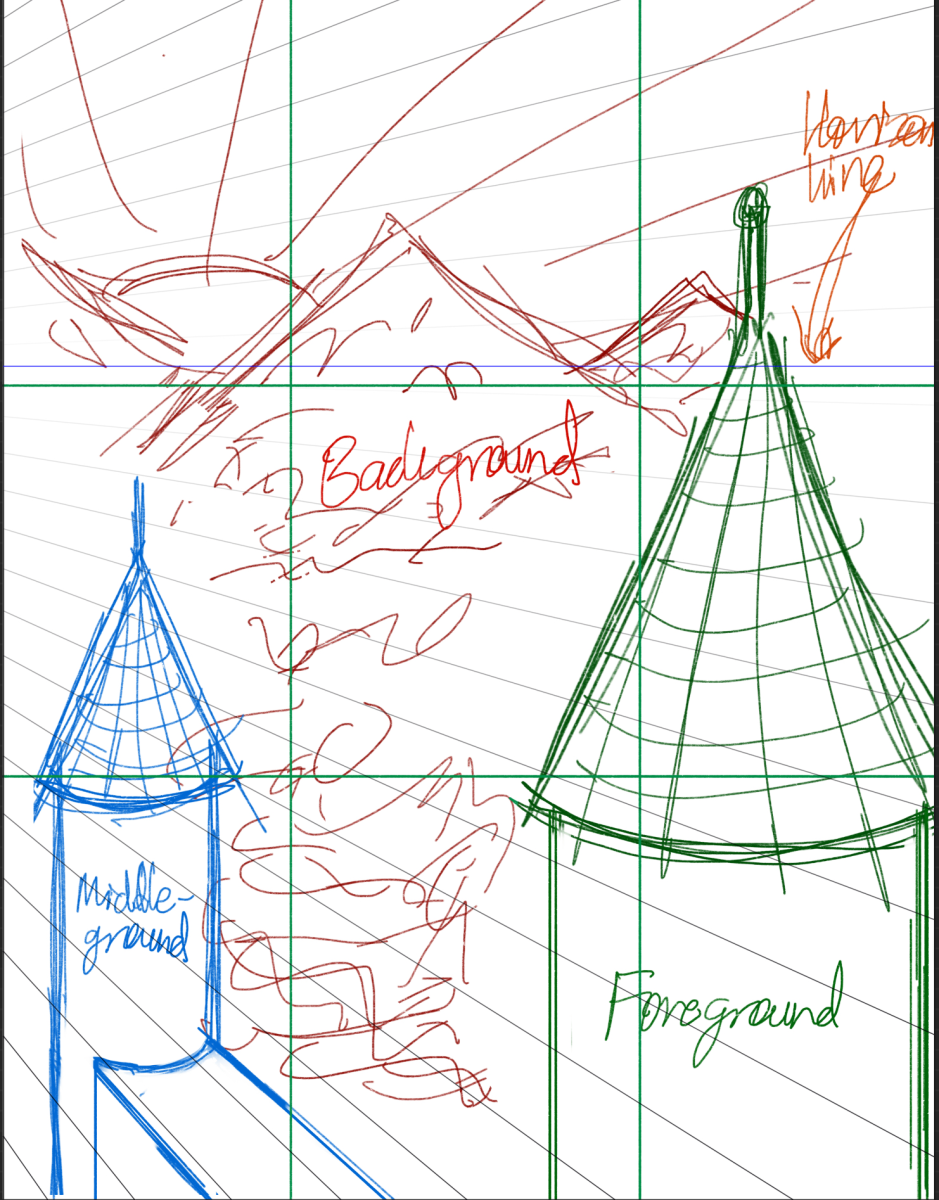
I used to struggle with perspective and how to do it, but I have a handy li’l cheat sheet for y’all.
Use a ruler.
I’m not even kidding. Whether it is traditional art or not, you wanna use a ruler. Figure out where your vanishing point is (the spot where your perspective comes from) and work from there.
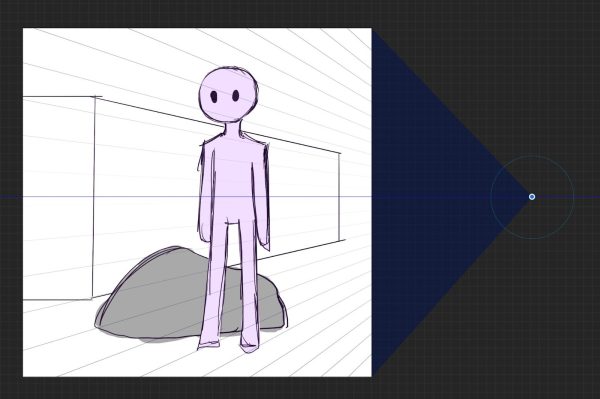
See these funky lines I have here? Those are the perspective lines. And that stupid dot that connects those lines? That is your vanishing point. See how the buildings follow the lines? Follow the lines, okay? Don’t be a li’l bitch and be afraid of the lines. They are your number one favorite things in the world and they will make sweet, sweet love to your art if you treat them well, okay?? Just be a sheep here, okay??
COMPOSITIONAL POSITIONS
Positions. Much like the “Karma Sutra,” we gotta discuss positions. So what does this mean? It means se–
It means “here are some good places to put shit.” You wanna avoid centering your pieces because that generally looks visually indistinct and not very creative. So put your characters/buildings/whatever in different spots. Make ‘em far apart or close, but also make sure not to leave too much dead space.
MATERIALS
Basics: Pencils, erasers, and paper
You can never go wrong with these basic tools. And plus, you really don’t need fancy expensive pencils. I’d recommend experimenting with different pencil densities and hardnesses. Most drawing pencils are labeled with B/HB/H at the top. These letters tell you a lot about the hardness/softness of the pencil lead. B is generally softer and darker, H is generally harder and lighter, and HB is a mix of the two.
In terms of erasers, you can use whatever. But I highly encourage getting a kneaded eraser for erasing pencil lead if you want to paint over your sketch.
As for paper, for just regular pencil drawings, you can use anything, even copy paper.
Painting: Medium, brushes, and material (paper, canvas, etc.)
Painting is another fun field, and again, it doesn’t have to be an expensive hobby. There are different kinds of paints and you can experiment with these, but in terms of price scale: acrylic paints are the cheapest, followed by watercolors and gouache, and oil paints are typically the most expensive.
If you are on the cheaper side, you can buy multi-medium brushes and some of them are decent quality, but it is recommended to buy brushes designated for the specific paints you are using. Also, make sure to clean your damn brushes! And don’t be a moron and let them sit in the water either because that can loosen the glue inside of the brush which holds the bristles in place.
Digital: Programs
And if you are not at all interested in traditional mediums, there’s always digital art. Mind you, I do not mean AI art because AI art is not art and has been known to steal people’s works for their algorithms. When I say digital art, I mean utilizing programs like Clip Studio Paint, Krita, Photoshop, etc. However, digital art tends to be the most expensive because of the materials you need. Unless you wanna be a massive masochist and draw with a mouse, then it is a good idea to invest in a tablet. I’ve heard Wacom sells good ones, but I’ve never used them because they are super expensive. I’d recommend Huion, XP Tablets, or even non-screen tablets from Wacom. Again, price ranges can vary.
Following that, programs can also be expensive. However, if you want a good starting point with free software, you can’t go wrong with Sketchbook or Krita. Both have slight learning curves but they are robust and good programs. Some people (like myself) have iPads and if you have an iPad, I highly recommend Procreate to start off with. It is a decently priced program (at $10-$15) and it is worth the money. Slight learning curve, but there are countless tutorials online.
DRAWING PEOPLE
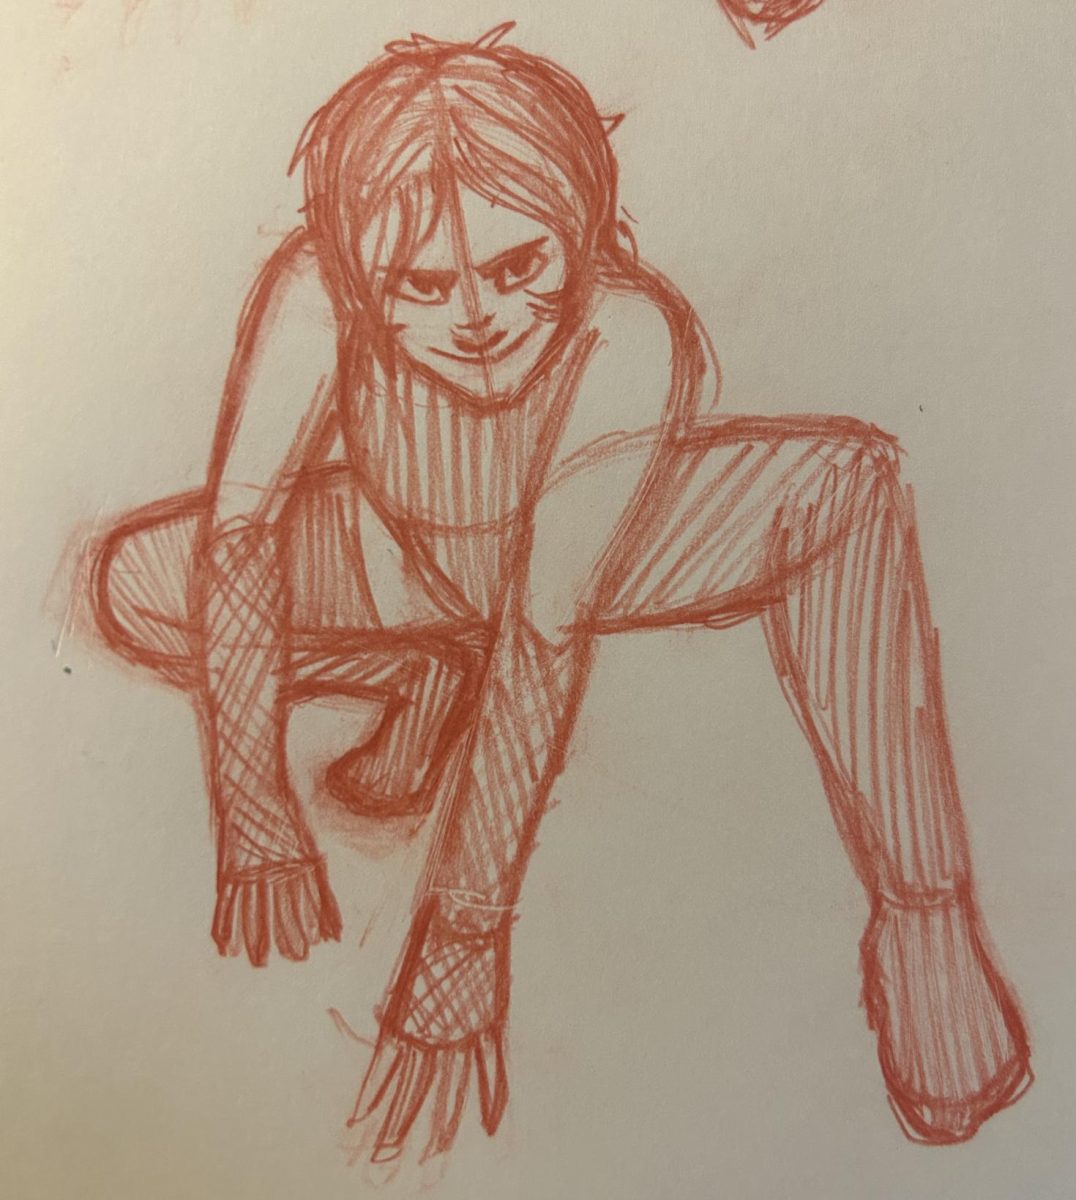
This is the bane of artists’ existence and I KNOW WHAT IT FEELS LIKE! But lemme tell you the biggest open secret among the pros: REFERENCE. REFERENCE. REFERENCE.
Find references for poses, and if you can’t find references, literally record yourself doing the move which leads into the pose. And I say record instead of photograph because a video recording of you moving looks more natural than just a stiff pose in a photograph. You can very easily just pause the video on the spot you wanna draw.
Now don’t be stupid and don’t use photographs! (Clarification: you can use photographs but videos are the best for this in my not humble opinion.)
Once you have a reference, do me a favor and DO NOT trace the pose. While tracing can be useful in some contexts and professionals do it, as a beginner artist you should not be tracing at all. Why? Because your li’l dumb brain needs to learn how the human body works, and tracing is just going to completely dismiss the skill.
Another important bit: do not focus on details! Focusing on the details of the arm or hand is NOT what you wanna do. Instead, you wanna draw the humans in shapes and figure out how the form works. Use triangles, rectangles, circles to draw out your very basic shapes of the body.
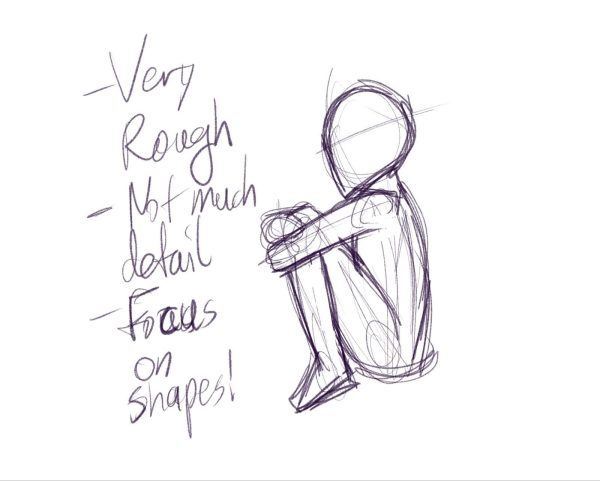
Once you have the basic shapes of the body laid out, then you can get to details.
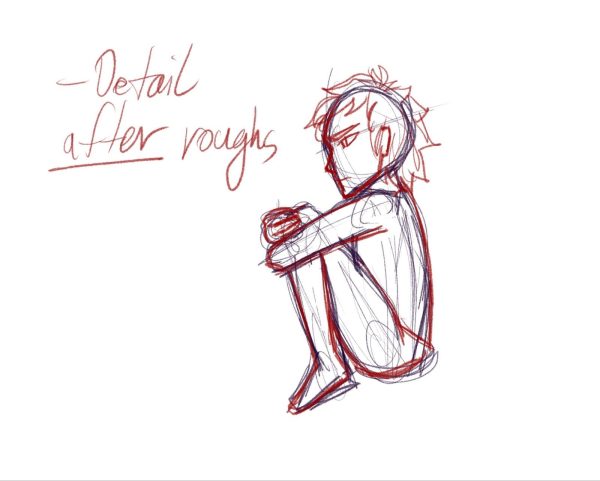
The same thing applies to drawing faces, you hear! I don’t wanna see any of you underdeveloped maggots doing detailed eyes before outlying the entire face!
My personal process is to first outline the base pose, do the basic shapes of the body first, and then do the head. After that, details can be ironed out on the body FIRST and then the face. Sometimes I will mix it up, but usually this is my own process. You can adjust the process to your liking, BUT I highly recommend starting out this way.
With this in mind, I hope you get something out of it. If you don’t, well, boohoo.
I’ll see you dumb dumbs next time.
Bye.


